Monday, January 17, 2011

The New Shop Pt. 2 Moved In

This past week I have been working hard and I have most of my tools moved into my new shop space, it's so exciting! First I insulated the walls then put 1/2" plywood up. After that I painted the plywood white with a eggshell latex paint which really made the shop brighter and appear larger after two coats (I still have some touching up to do, but I wanted to get my tools in there).

Photobucket

Photobucket

Photobucket

Photobucket

Photobucket

Photobucket

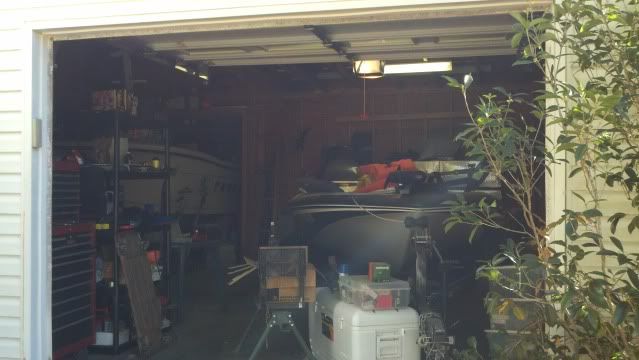
It feels so good to get my tools in there!

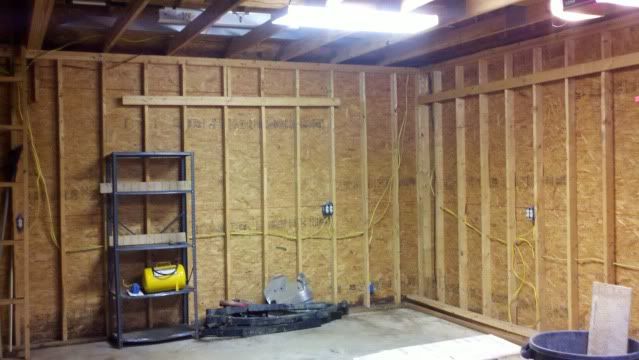
The next few things I am working on are my french cleat system and my lumber rack. I am putting french cleats where ever I can and hanging whatever I can on them. This way everything in my shop can be moved around without much trouble with the only things being permanent on the wall are the lumber rack and the ladder to the attic. You can see where I have already hung a small cabinet and a clamps on my french cleats. The clamps had no where to hang and were taking up valuable space rght off so I made up a quick holder for them. Also, I needed a place to put some fasteners so I made up the small cabinet to hold my hardware.

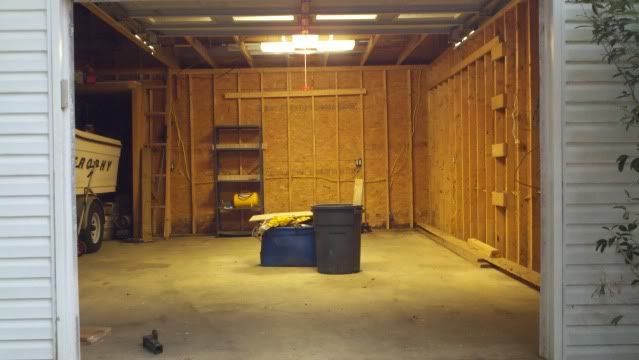
My lumber rack will be located above the jointer and my unfinished router table. I am making it out of 2x4's and 1/2" plywood, it is pretty simple but should do the job nicely.

Moving into my new shop I will be building lots of new shop furniture and jigs, most of which I will try to make videos on. This afternoon I hope to be able to complete my lumber rack and have a tutorial video made and uploaded by Wednesday. I already have all of the parts cut for the rack I just have to get to videoing!

Tuesday, January 11, 2011

The New Shop! Pt. 1

I am loading up my shop and moving it to a new home! Well, not yet, but I am getting close!

I have decided to move my shop to my home, since I have had a break-in and having a shop at home would be so nice (having to drive 20 minutes to my shop makes me spend less time there). The plan is to moving into a bay of our "boat barn", it is a larger garage if you will that is approximately 30'x60' and has a two boats, fourwheelers, a golf cart and a bunch of my step father's junk, yes, most of it is junk. Sadly I couldn't convince him to give me the whole thing, so I settled with one bay of it a 13.5'x25' section.


As you can see, it is pretty full. Most of the barn is this way, I think my stepdad is a mild hoarder..... alot of the stuff is... well I won't go there. I got him in there with me Sunday afternoon and consolidated all of the things into the other parts of the barn. Our agreement was that I could get 100% of his stuff out of that bay and have only my things over there. It took us probably a good hour to move it all, when we were done it was looking good.


My plans are to close it off completely from the rest of the barn with a nice wall. I want to insulate it, hang 1/2" plywood all along the walls, paint it white, then move all my tools in and build something! More to come!

Feel free to "Follow" along with me, this should be exciting! Look in the right column for "followers" and click follow.

Monday, January 3, 2011

How to build Cornhole Boards- A video Tutorial

Here is my video on how to make a nice set of cornhole boards. Everything is up to the tournament standards and these thing look nice. Not just some plywood and 2x4's.
Anyone can build these with just a few simple tools.


The pocket hole screws were my preferred method although you could simply screw from the outside of the 1x4 into the plywood deck, predrilling and glueing would be recommended. Nails would probably work in place of screws but I would be sure and put plenty of both nails and glue.

I hope you all enjoy!